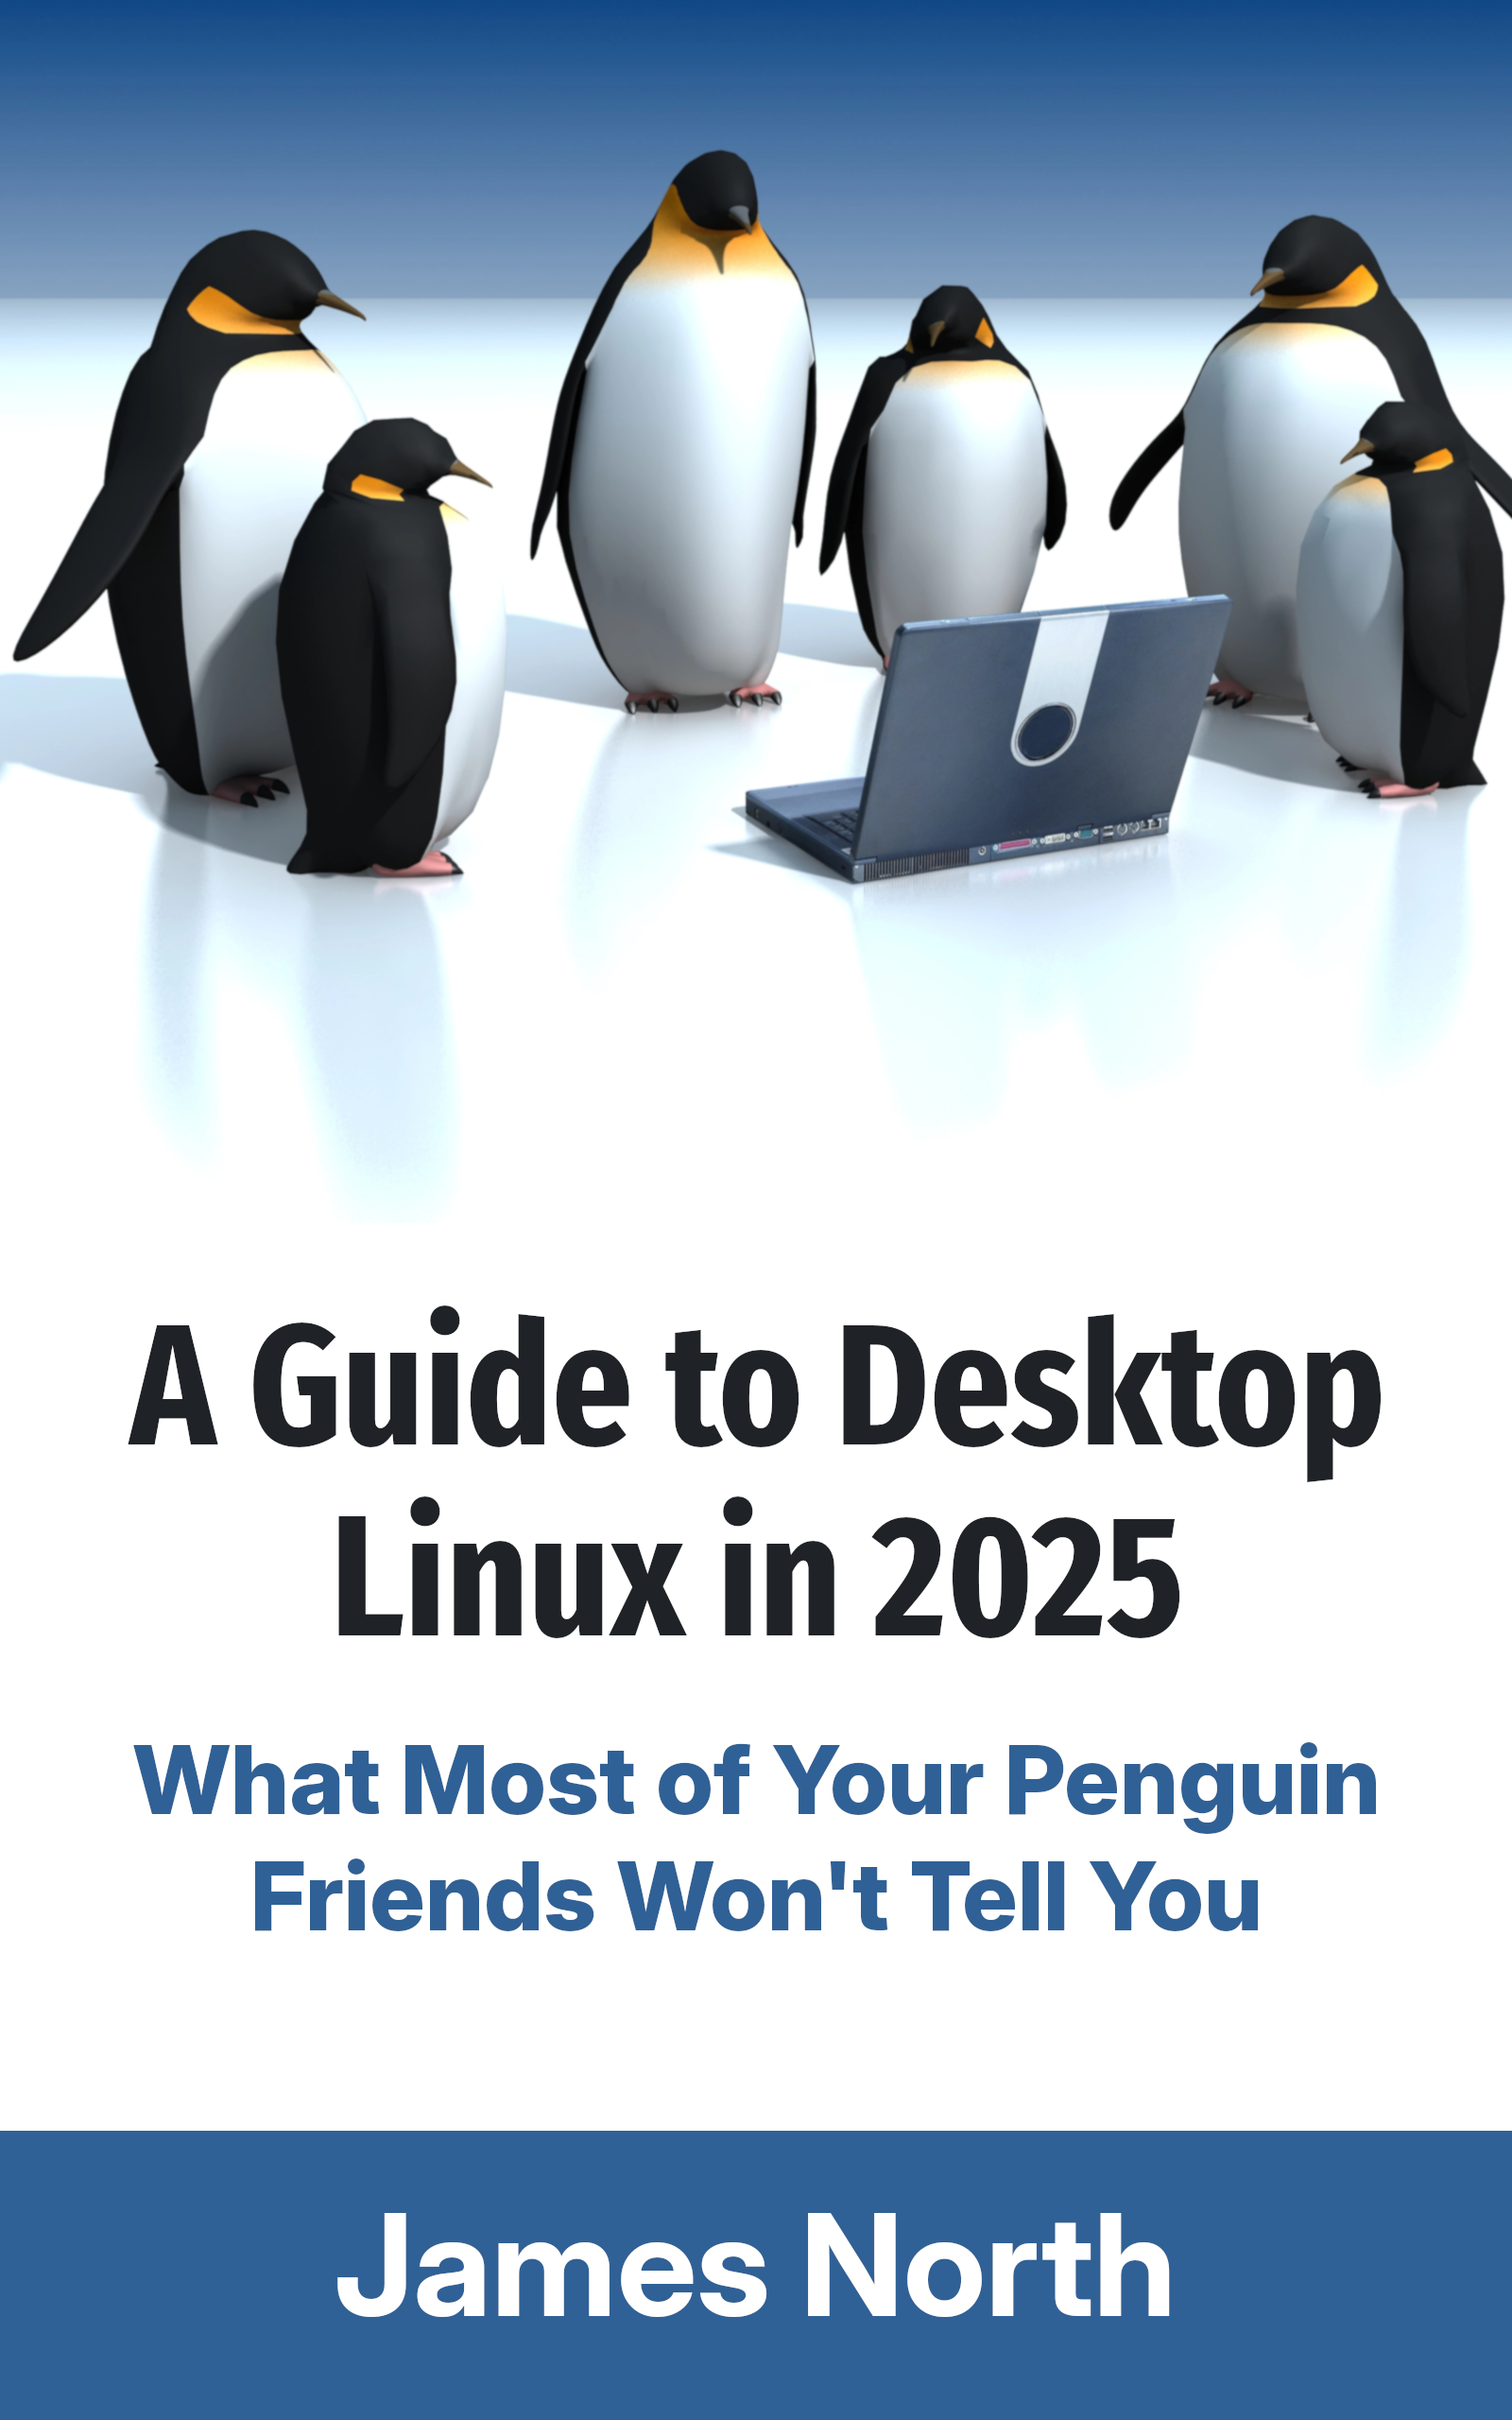
Looking to dive into Desktop Linux?
A Guide to Desktop Linux in 2025, available for purchase as an eBook and in Print, is just the handbook you need to orient you on this journey.
Whether you're worried Windows no longer has your best interests at heart, or you're just plain curious, this guide will help you get up and running while avoiding all of the usual potholes and footguns along the way.
If you tried Linux a long time ago, you'll be glad to know all aspects of the desktop have only gotten better over time. You might not even recognise it!
It's not 1998 anymore. It's been over 30 years since Linux was first released, and the Linux Desktop has undergone seismic shifts in usability and capability over the years. This book is designed for the modern age and helps you take advantage of all the latest technology available for desktop Linux. Even if you've used Linux before, things have changed a lot in just the last few years.
That's not to say the Linux Desktop isn't as quirky as it has ever been, but the jankiness has been sanded off in many areas. There's plenty you can do on Linux, and yet it would be a lie to say there isn't a cost to that freedom most of your penguin friends aren't forthcoming about. This guide acknowledges the limitations of the Linux world and doesn't try to hide them from you.
In this book, you'll find chapters about:
- getting your new Linux distribution setup on your computer
- providing step-by-step guidance for installation, software compatibility,
- gaming, and productivity
- exploring the history of desktop Linux
- the bright yet uncertain future of Linux
Buy this book now and dip your toes into the weird and wonderful world of Desktop Linux. Just don’t blame me when your house starts filling up with penguin plushies and red hats.
This guide will teach you how to create and manage a VM in KVM using virt-install, virsh, and virt-viewer, which all make use of libvirt. For a beginner's guide and introduction to libvirt and virtualisation concepts, and why you would even want to use libvirt instead of, say, Virtualbox, see: https://jamesnorth.net/post/qemu-guide
You can absolutely setup and manage QEMU domains purely with virsh by editing the XML files manually and connecting to the console with virsh as opposed to using virt-viewer. I don't recommend this for the faint of heart. We'll be using virt-install and virt-viewer for the heavy lifting.
Table of Contents
#Create Your VM
Install Prerequisites
You need a few packages before you can start working with libvirt. Note that the spice and virt-viewer packages are optional if you only intend to work with your guests directly through the console.
On Arch:
# pacman -S libvirt qemu-desktop virt-install iptables-nft dnsmasq virt-viewer spice spice-gtk
# systemctl enable --now libvirtd
Then reboot your machine to load the kernel modules that these packages install/setup.
Obtain the ISO
Download the ISO for the VM you want to install. My choice is Gentoo: https://www.gentoo.org/downloads/
Create the VM
Make sure the default network is active with:
# virsh net-start default
Use virt-install to create the VM image and XML file:
# virt-install -n yuki --connect qemu:///system --description "gentoo install test" --osinfo=gentoo --memory=16384--vcpus=4 --disk path=/var/lib/libvirt/images/yuki.img,bus=virtio,size=40 --graphics spice --cdrom /var/install-amd64-minimal.iso --network network=default
This command will create a Domain (libvirt's terminology for "VM Guest") with the name "yuki" and description "gentoo install test", connect to it via qemu:///system, and knows that it's installing a gentoo guest because of the osinfo parameter. It will have 16GB of RAM, 4 vcpus (CPU cores, essentially), create or use the image at /var/lib/libvirt/images/yuki.img if it already exists, using the virtio bus for QEMU, the image will be 40GB, it will use the iso at /var/install-amd64-minimal.iso to install the OS, and it will use the default network.
Not all of these options are necessary, and more options can be specified for greater control. You can find them in the virt-install (1) man page.
To find out what your OS's Short ID is, run osinfo-query os. You can also filter the output to only the information useful to you: osinfo-query os | grep gentoo
This command will create the VM domain and launch the live installation media in virt-viewer (if not, you can try virt-viewer yuki to connect to it). You can now run through the install process.
Re-inserting Installation Media
If you shut down the domain for any reason instead of installing the OS immediately, the installation media will no longer be inserted and you won't be able to boot the next time you start the domain.
To fix this, use virsh change-media to insert the installation media. Before that, you will need to know the disks available on your domain, so use:
# virsh domblkinfo --all yuki
The target you are looking for is generally 'sda' or 'sdb'. Now you can try inserting the installation media:
# virsh change-media yuki sda --insert /var/installation-amd64-minimal.iso
You will need to alter the domain's xml configuration to boot from the cdrom (which is what sda is):
# virsh edit yuki
Insert <boot dev='cdrom'/> below <boot dev='hd'/> and save the file. This will attempt to boot from the 'hd' device first (which is vda, as you'll see further down the file), and if that fails (which it will, as it is currently empty), boot from the cdrom. This is useful because we want to boot from the disk after we install the OS, and this means we don't have to edit the file again.
You can now start your domain and connect to it:
# virsh start yuki && virt-viewer -w yuki
You can also determine the boot order using per-device boot elements, which are mutually exclusive with the domain-wide boot element I've just explained. More on that and other domain booting information (also see bootmenu) here: https://libvirt.org/formatdomain.html#operating-system-booting
Per-device boot elements are helpful if you have multiple disks.
Pro-Tip: You can access much of the documentation for libvirt offline at /usr/share/docs/libvirt/html/docs.html (the location may differ depending on your distribution's filesystem setup)
Manage Your VM
When you're done with your VM, you can power it off from within the VM guest, or you can turn it off using virsh:
Graceful Shutdown and More
virsh can coordinate with the domain to power off gracefully, which is recommended unless something is blocking shutdown:
# virsh shutdown yuki
Or graceful reboot:
# virsh reboot yuki
Or suspend it gracefully:
# virsh suspend yuki
Resume it:
# virsh resume yuki
Force Off
The guest may need to be hard powered off, which is the violent alternative to the previous section:
# virsh destroy yuki
Delete (Undefine) a Domain
If you want to completely delete a domain, all you need to do is get rid of the XML file that defines it, as that's all a domain really is. With virsh:
# virsh undefine yuki
More With Virsh
See the man page for virsh (1) or try virsh help for a more manageable list of actionable commands as a good place to start.
More Tools
See https://libvirt.org/apps.html#command-line-tools
Looking to dive into Desktop Linux?
A Guide to Desktop Linux in 2025, available for purchase as an eBook and in Print, is just the handbook you need to orient you on this journey.
Whether you're worried Windows no longer has your best interests at heart, or you're just plain curious, this guide will help you get up and running while avoiding all of the usual potholes and footguns along the way.
If you tried Linux a long time ago, you'll be glad to know all aspects of the desktop have only gotten better over time. You might not even recognise it!
It's not 1998 anymore. It's been over 30 years since Linux was first released, and the Linux Desktop has undergone seismic shifts in usability and capability over the years. This book is designed for the modern age and helps you take advantage of all the latest technology available for desktop Linux. Even if you've used Linux before, things have changed a lot in just the last few years.
That's not to say the Linux Desktop isn't as quirky as it has ever been, but the jankiness has been sanded off in many areas. There's plenty you can do on Linux, and yet it would be a lie to say there isn't a cost to that freedom most of your penguin friends aren't forthcoming about. This guide acknowledges the limitations of the Linux world and doesn't try to hide them from you.
In this book, you'll find chapters about:
- getting your new Linux distribution setup on your computer
- providing step-by-step guidance for installation, software compatibility,
- gaming, and productivity
- exploring the history of desktop Linux
- the bright yet uncertain future of Linux
Buy this book now and dip your toes into the weird and wonderful world of Desktop Linux. Just don’t blame me when your house starts filling up with penguin plushies and red hats.
Written by
James North
Project Manager and Company Director at Evolvepreneur.
Part-time system administrator for Evolve Systems Group.
Part-time writer and author of A Guide to Desktop Linux in 2025.
Symfony developer.
You Might Also Like
How to create professional audiobook .m4b files in under a minute using your WEB BROWSER!

James North
May 31, 2026




Comments (0)
No comments yet. Be the first to comment!